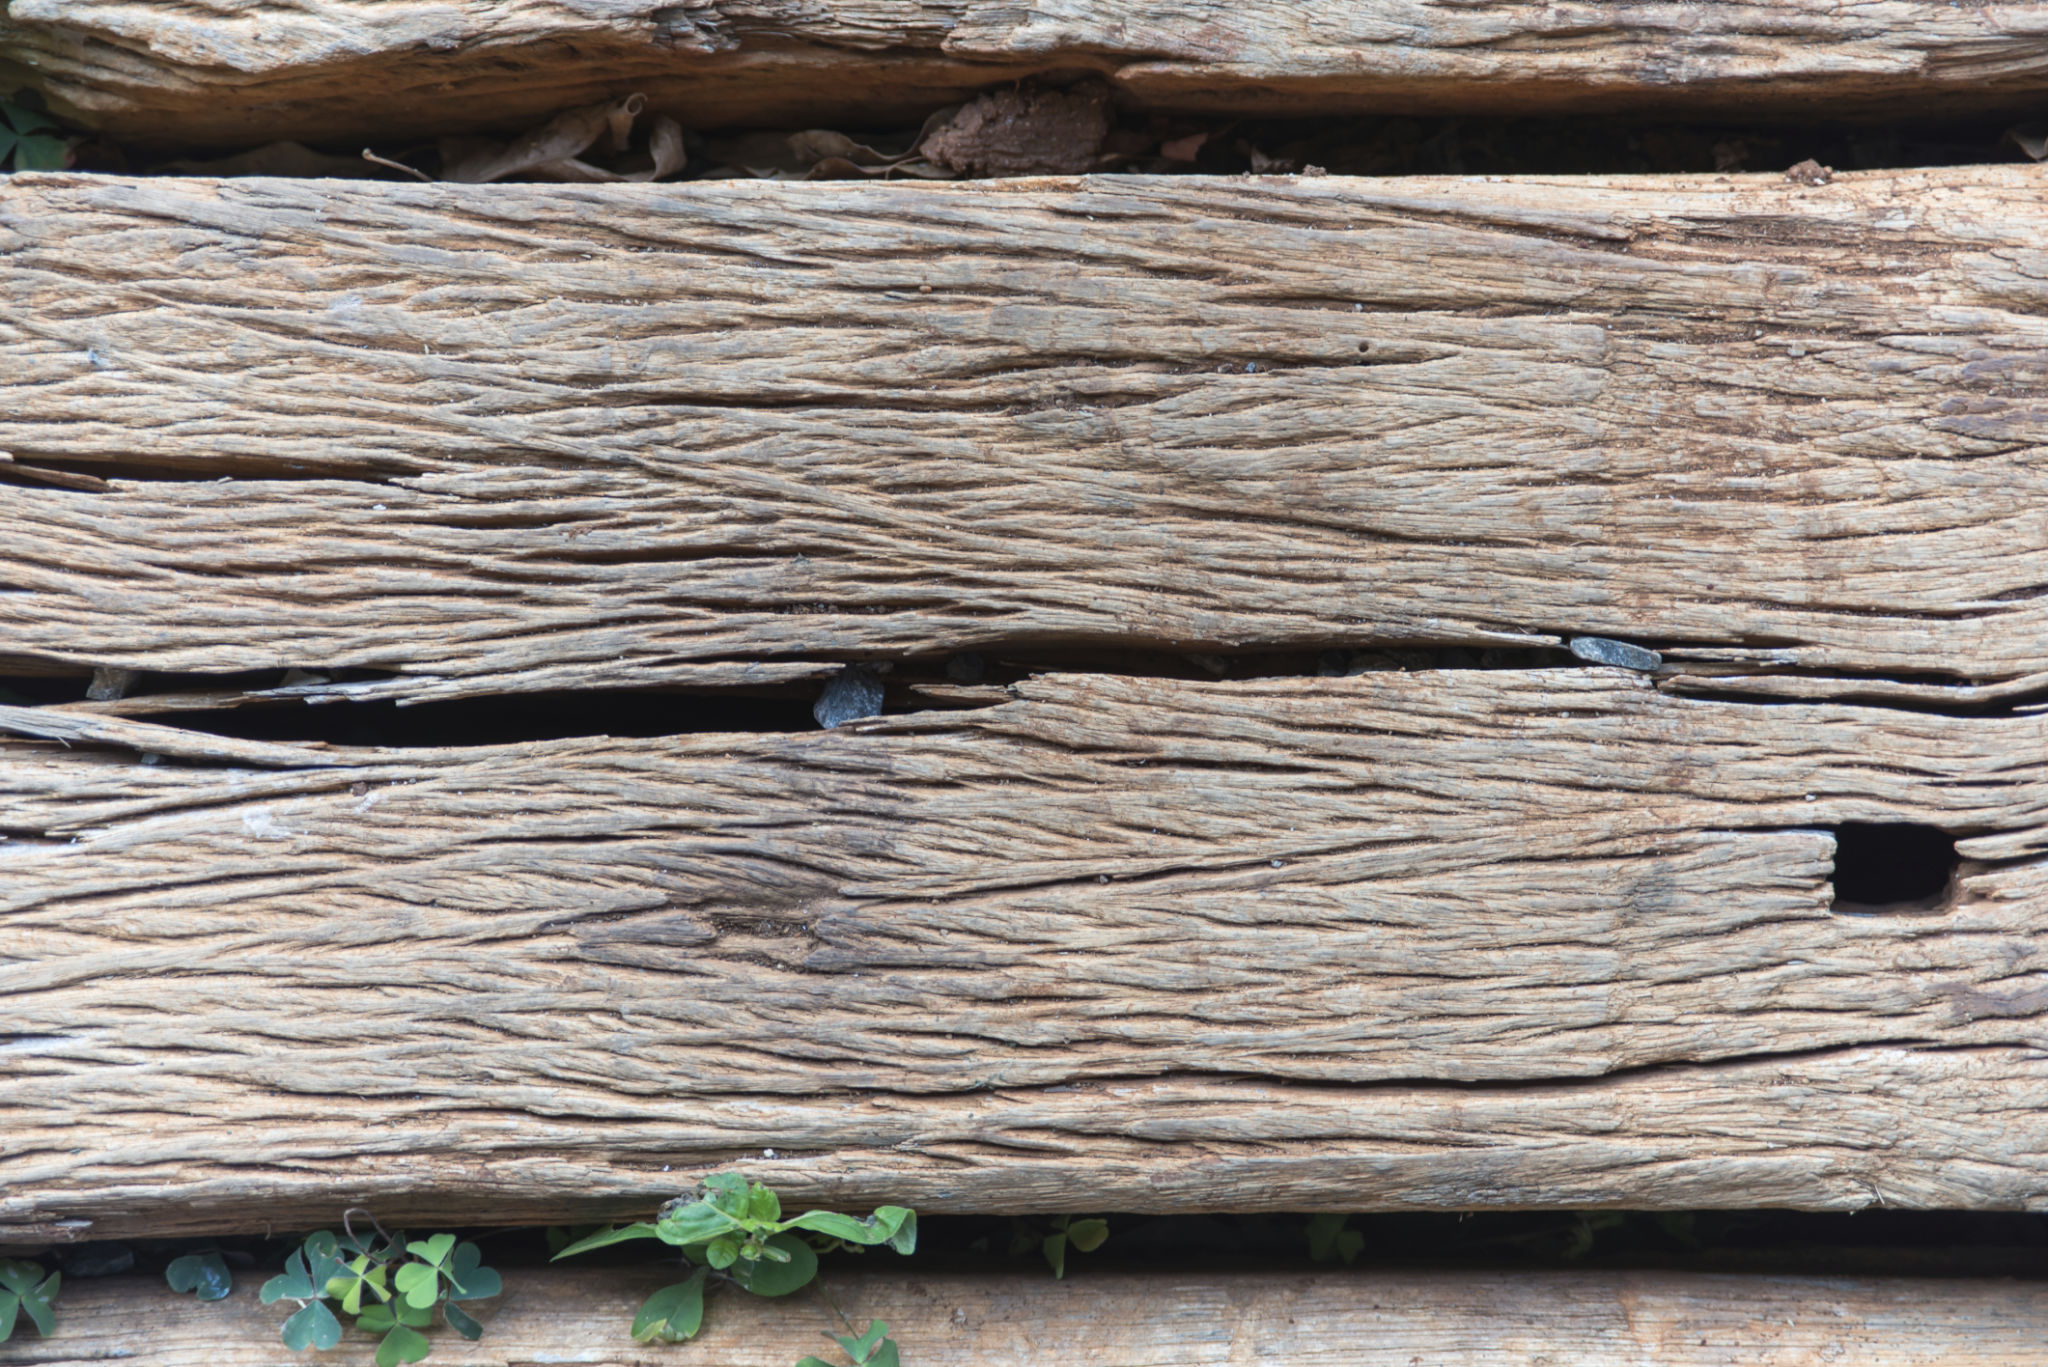
How to Repair Cracked Sleepers: A Step-by-Step Guide
Understanding Sleepers and Their Importance
Railway sleepers, also known as railroad ties, play a crucial role in maintaining the stability and alignment of railroad tracks. They are essential in distributing the load from the rails to the track ballast and subgrade, ensuring that trains run smoothly and safely. Over time, sleepers can develop cracks due to environmental factors, regular wear and tear, or improper handling. Repairing these cracks promptly is vital to maintain the integrity of the railway infrastructure.

Assessing the Damage
Before starting any repair work, it's important to thoroughly assess the extent of the damage. Inspect the cracked sleepers to determine whether they can be repaired or if they need a complete replacement. Minor cracks can often be fixed with simple techniques, but severe damage may require professional intervention.
Take note of the crack's length, depth, and location. Cracks that compromise the structural integrity of the sleeper or are located at critical stress points may not be suitable for DIY repairs. In such cases, consult with a railway maintenance expert for further advice.
Gathering Necessary Materials and Tools
Once you've decided that the sleeper is repairable, gather the necessary materials and tools. You will typically need:
- Epoxy resin or a suitable wood filler
- Sandpaper or a sanding block
- Protective gloves and eyewear
- A putty knife or spatula
- Wood sealant or preservative

Preparing the Sleeper for Repair
Begin by cleaning the cracked area thoroughly. Remove any dirt, debris, or loose wood fragments from the crack using a brush or compressed air. Ensuring a clean surface will help the repair material adhere better.
Next, sand around the crack to smooth out any rough edges. This step will also help the repair material blend seamlessly with the sleeper surface. Make sure to wear protective gloves and eyewear during this process to prevent injury.
Repairing the Crack
With your materials prepared and the sleeper cleaned, it's time to repair the crack. Mix the epoxy resin or wood filler according to the manufacturer's instructions. Use the putty knife to fill the crack with the mixture, pressing it deep into the crevice to ensure a solid bond.
Smooth out the surface of the filler with the putty knife, removing any excess material. Let the repair material cure as per the recommended curing time on the product label before proceeding to the next step.

Finishing Touches
Once the filler has fully cured, sand the repaired area until it is smooth and level with the rest of the sleeper. This step ensures that there are no protrusions that could interfere with rail operations.
To protect the sleeper from future damage, apply a coat of wood sealant or preservative over the repaired area. This will help shield it from moisture and other environmental factors that can cause further cracking.

Regular Maintenance and Inspection
Repairing cracked sleepers is just one part of maintaining railway infrastructure. Regular inspection and maintenance are key to preventing serious damage in the future. Conduct routine checks for any signs of wear and tear, and address minor issues promptly before they escalate.
Document your repairs and keep track of any recurring problems in specific sections of track. This information can be invaluable for planning preventive measures and ensuring long-term railway safety.
Conclusion
Repairing cracked sleepers is an essential task for maintaining safe and efficient rail operations. By following these steps, you can address minor cracks effectively and prolong the lifespan of your railway sleepers. Remember, safety always comes first, so do not hesitate to seek professional assistance if needed.
